

Slab pies aren’t new, but over the last few years they’ve begun edging their way towards trendiness—with any luck, a new “it” dessert is imminent. They’re just as delicious as regular pies, but twice as big, and with an improved crust-to-filling ratio. What’s not to love about that?
Perhaps there’s one thing: as with all pie-making, slab pies generally benefit from a bit of patience and some expert guidance. Below, we’re covering the latter.
What’s a Slab Pie, Anyway?
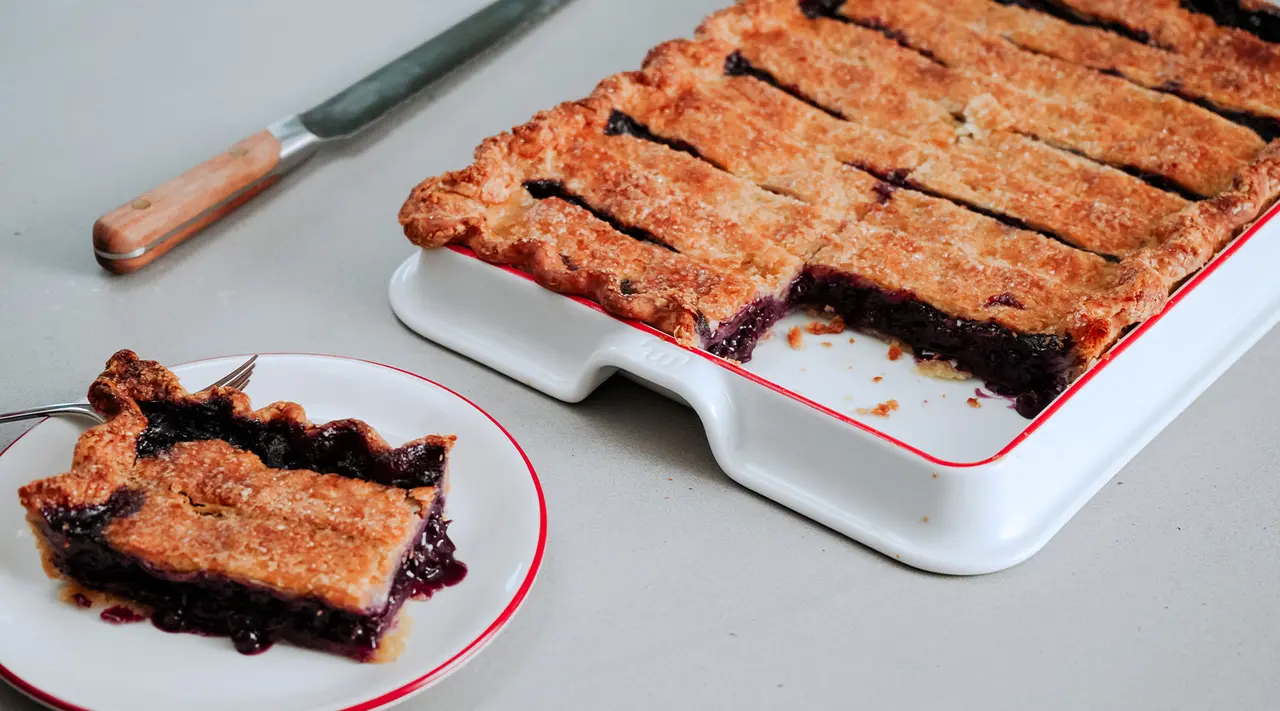
Slab pies are a subgenre within the pie family. Born from the desire to make more pie with fewer dishes, slab pies are massive rectangular pies (around 9x13”) generally prepared on a Baking Slab or Sheet Pan.
The square slices can be eaten standing and without a fork, perfect for holiday gatherings. Even better for busy bakers, a single slab pie equates to 2 standard 9” pies, and any crust imperfections aren’t as noticeable in slab pies (presumably because guests are too distracted by the novelty of the giant Pop Tart in front of them).
Slab pies can be single or double-crusted and are anywhere from one-third to one-half the height of a standard pie. For some types of pie, this is an advantage. A 9” round pecan pie becomes cloying before you even finish your first slice, whereas a shallower pecan slab pie will have a far better balance of filling to crust.
How to Make a Slab Pie
If you can make a 9” pie, you can make a slab pie—and pretty much anyone can make a 9” pie. With all pies but slab pies especially, there are a few tricks to getting flaky, golden crust, fully-cooked bottoms, and a flavorful filling, but they’re not hard to get right if you know what to look out for. And on that note…
Step 1: Use a Baking Slab
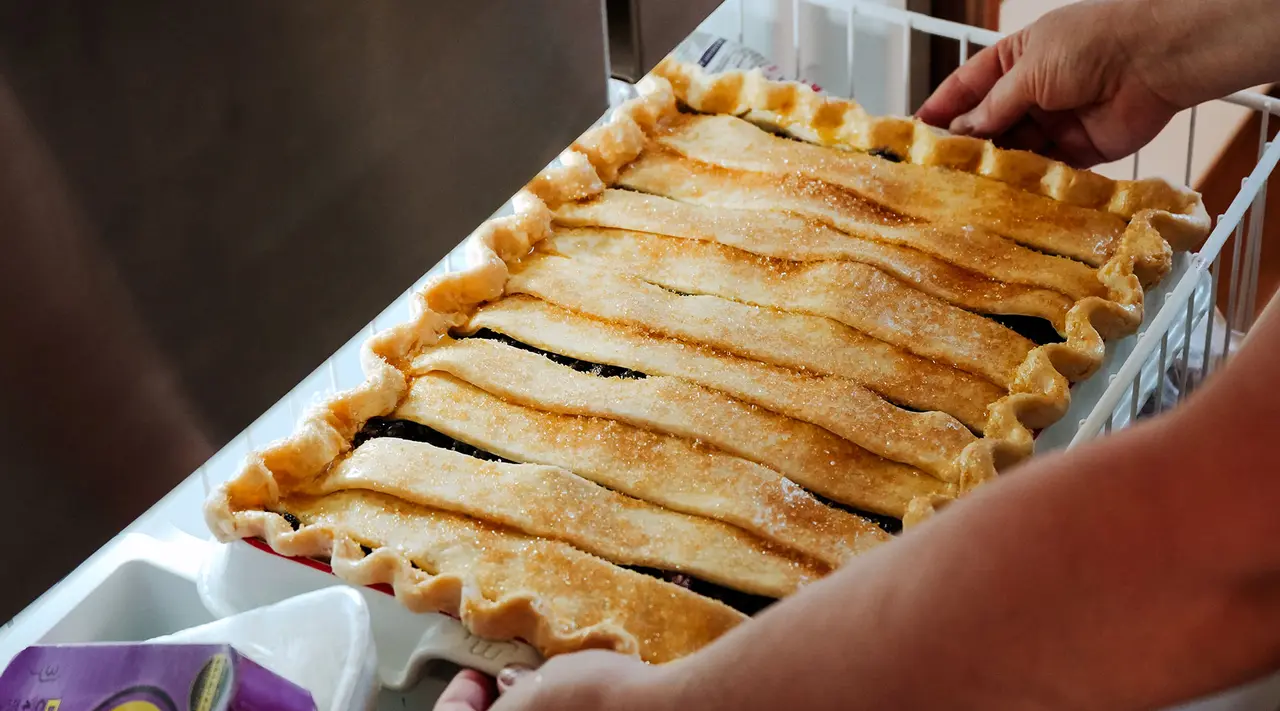
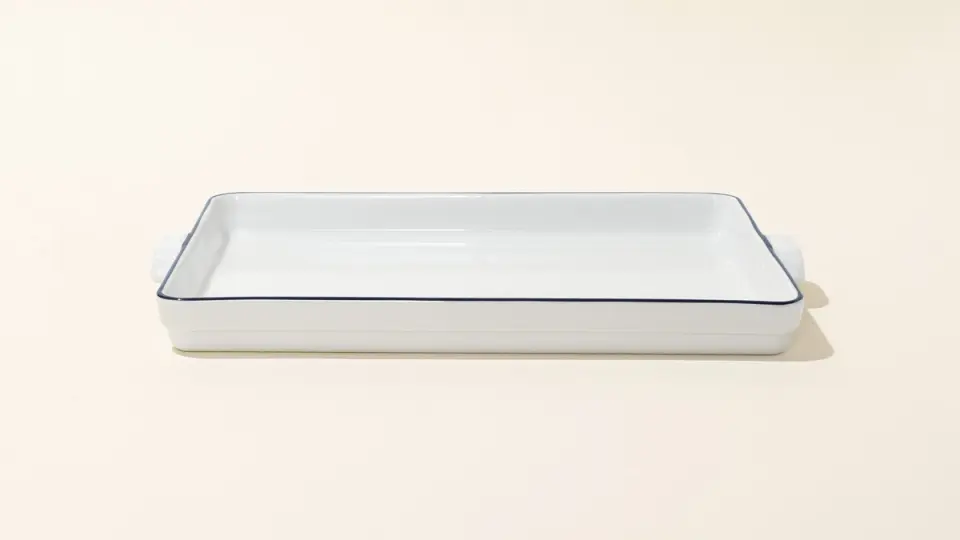
Less of a step and more of an imperative, the Baking Slab is what makes a slab pie possible. Made from pure French porcelain, we designed the Baking Slab with (and for) Chef Nancy Silverton to create a brand new tool that’s durable, elegant, naturally non stick, and made by expert craftsmen who specialize in porcelain—they use a porcelain recipe that’s over 200 years old, resulting in lustrous bone white bakeware.
Porcelain has lost ground in the bakeware sector over the last few decades, but for perfectionists like Chef Silverton, it’s the only choice—its thermal shock resistance is essential for chilling too-warm crust, and allows you to bake straight from the freezer (much better for preserving the crisp look of crimps and lattices).
Step 2: Select (or Double) a Recipe
When it first launched in 2021, Chef Silverton broke in the Baking Slab with a crowd-sized apple streusel slab pie, and we’ve since added a few more favorites to our recipe box: Rhoda’s bourbon pecan slab pie is always a hit at holiday parties, and self-proclaimed dessert person Claire Saffitz even demo’d our Baking Slab over on her channel while making her own double-crusted version (essentially a massive blueberry pop tart).
More and more slab pie recipes are being published every day as this new dessert form gains traction, but if you have a favorite family pie recipe you can easily adapt that to fit as well. Most recipes formatted for a standard 9” pie dish can simply be doubled for preparation in a Baking Slab—note that because of its large surface area and shallow depth, the ratio of filling to crust is a bit more conservative. In our opinion, this is a great improvement.
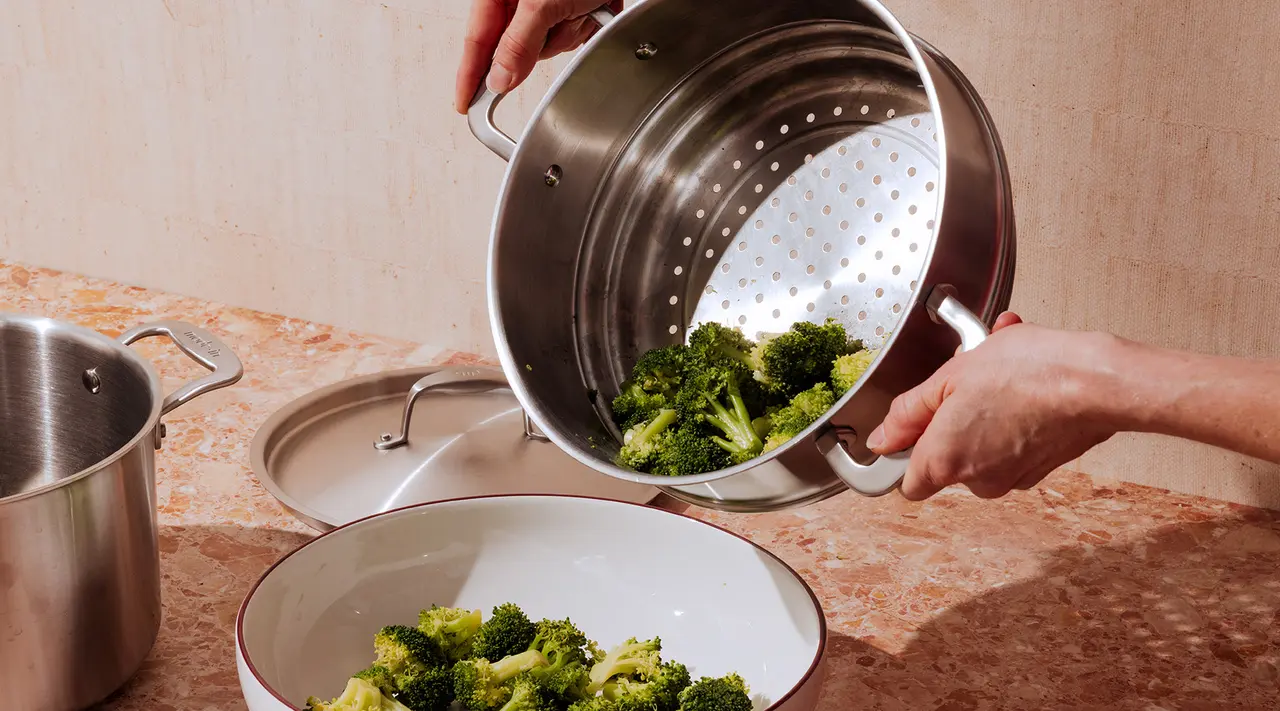
It goes without saying that the Baking Slab can do so much more than make jumbo pop tarts—it’s also excellent for making supersized brookies, focaccia, snackable brioche, and savory tarts. Many cooks also use theirs for more routine tasks in lieu of a sheet pan for roasting vegetables, making one-pan meals, toasting nuts, and more.
Step #3: Make a Flaky Dough

The actual making of a slab pie is more or less the same as a 9-inch circular pie, in that the number one objective is the same for both: Keep all ingredients as cold as possible, full stop. Follow these tips for surefire success:
- Cold butter promises maximum flakiness, so freeze your cubed butter for 15 minutes or so before adding it to your flour mixture.
- Dough made in a food processor comes together faster and is easier to work with—hands introduce body heat, which reduces flakage and encourages tearing.
- Once the butter is pea-sized, add just enough ice cold water to bring it together.
- Quickly dump the contents onto a large sheet of plastic wrap, knead lightly into a rectangle, and chill for at least an hour but ideally overnight—this allows flour to fully hydrate and gluten to relax, making it easier to roll out.
Step #4: Speedy Assembly
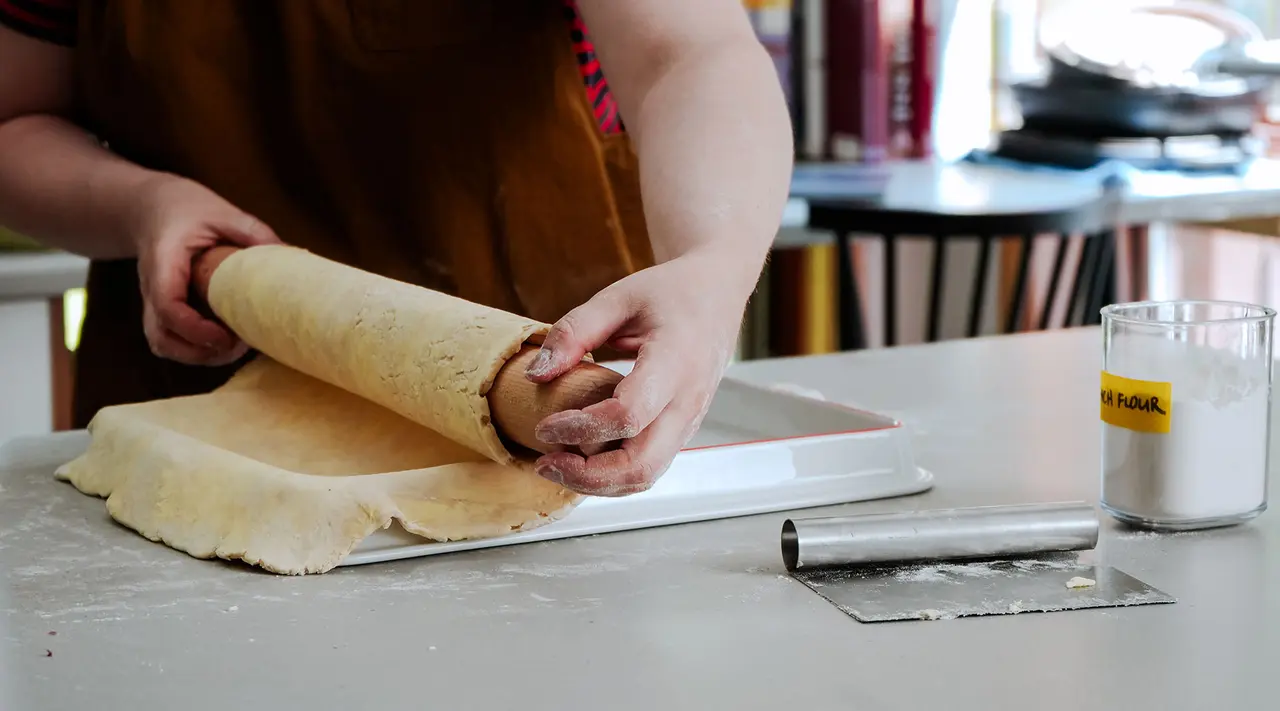
Before rolling it out completely, beat the chilled dough with a Rolling Pin to make it more pliable. This step also prevents cracking, so the actual rolling will go much more smoothly. For thickness, a quarter-inch is usually about right—this should get you to the dimensions of the Slab, plus a few inches of seam allowance.
You don’t necessarily need any more equipment, but a few tools will come in handy: A ruler ensures you’ve got your dimensions right, and a bench scraper is far better at loosening dough stuck to a counter than your fingers, which inevitably poke holes in the crust. Kitchen shears, a rotary pizza cutter, or a really sharp paring knife will help achieve straight lines and trim excess rapidly.
Roll the crust around your rolling pin like an ancient scroll and use the rolling pin to gently lift and set it into the Baking Slab. Allow gravity to do most of the work—the dough wants to be in the slab, you just need to help it ease into the corners.
Trim the overhang so you don’t end up with too-thick gummy walls, and then cut a notch into the corners for the same reason. Let the lined slab rest in the fridge for 10-15 minutes, to allow the butter and any crimping to firm up.
Step #5: Check for Doneness Earlier

Despite the sheer amount of pie a Baking Slab produces, its shallowness speeds up baking and cooling time drastically—which means you’re that much closer to eating it. To ensure a crisp, browned bottom, start the slab pie on a preheated baking sheet in the bottom third of a 425F oven—this sudden wall of heat will puff and set the crust rapidly.
After about 20 minutes, reduce the heat and relocate the slab pie (sheet pan and all) to the middle rack, allowing the gentler heat to finish the filling and carry that last bit of browning to the finish line. Continue to check frequently at this point, as the window between “done” and “burnt” is a bit narrower than with a thicker round pie. Any areas that are browning too quickly can be covered with slightly domed aluminum foil molded to cover the burnished area.
Ready to Cook?
If you follow these steps, you’ll be whipping up slab pies with no trouble at all. Just make sure everything stays as cold as possible—the freezer is your friend, and great at rapidly chilling any dough that’s getting a bit sticky—and yours will look just as good as Chef Silverton’s apple quince streusel edition.